WorkApps is a no-code platform for building intuitive web and mobile apps to streamline your business and simplify collaboration. With WorkApps, you can build customized apps directly from sheets, forms, reports, dashboards, and even external content like files, weblinks, videos, or slideshows, all with no technical skills required.
You can also identify and assign different end-user roles for all of the stakeholders who are going to use the app. This allows everyone to work from the same app, using the same underlying datasets, but with a tailored experience based on their role.
Create and edit a WorkApp
Create WorkApps from the WorkApps icon or the builder in the right navigation bar. From the builder, go to the plus icon and select WorkApps. Alternatively, navigate directly to https://workapps.smartsheet.com and log in with your Smartsheet credentials.
Create a WorkApp
- Select + Create app from the upper-right corner of the page.
- Choose a template or start from scratch.
- Name your WorkApp at the top of the screen.
- Follow the instructions in the builder to complete your WorkApp.
New pages are set to Hidden by default. Learn more about using roles to update permissions.
Edit a WorkApp

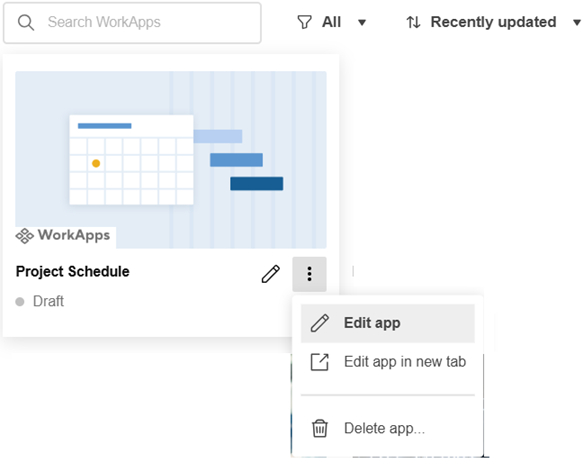
From WorkApps Home, use the search, filter, and sort tools at the top of the screen to locate the WorkApp you want to edit.
Select the Menu icon to delete or view the WorkApp.
Any changes you make in the builder are saved when you exit the WorkApp. To exit the builder and select a different app to edit, select the WorkApps Home icon.
The WorkApp defaults to Draft until you publish it.
Add and edit pages

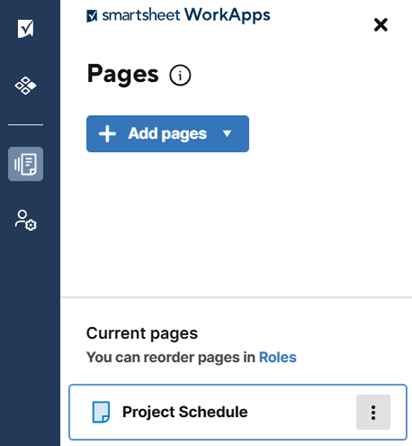
- Select the Pages icon from the left rail.
- Select Add Pages.
- Select what you want to add and follow the prompts. You can choose between the following:
- Sheets, reports, dashboards
- Form
- Web Content
- Dynamic Views
- Select a permission level for each role. Permissions determine who can do what with the page.
Added pages will appear on the left side under Current Pages.
Rename or remove a page
Hover over any page name and select the Menu icon to rename or remove it.
Adjust page settings
To open the Page Settings panel, select a page under Current Pages and then the Page Settings icon in the right navigation bar.
Most pages only display the page source; however, additional settings are available for sheet pages. For sheet pages, you can control:
- Default page view: Specify which view appears when opening the WorkApp page. When viewing on desktop desktop, you can select Grid View, Card View, or Gantt View for project plans. In the mobile Android and iOS apps, you can select Mobile View or Grid View.
- Filter settings: Apply a saved default filter to help collaborators see key information first. You can also change your Card View settings, such as Level and View By.
