Content Automation tags are labels you create to organize your teams in meaningful groups so that you can efficiently manage the content they have access to.
Tags are flexible tools, so you can bring your own organizational structure into Content Automation. For example, you might use Content Automation tags to represent regions, departments, services, or any other categorization you see fit.
Access the Content Automation tag management page
You can see a list of all active tags on the Tag Management page. To access this page, navigate to Users and Teams in the sidebar, then select Tags.
Adding tags on teams, project kits, or template variations
Select a tag to see various options, such as adding the tag to teams, project kits, or template variations.
If the tag you want to apply doesn't currently exist, you need to create the tag on an individual resource first (for example, a team) and then navigate back to the tag management page to apply the tag to additional resources.
Adding Content Automation tags to teams via manual selection
- Ensure you're in the Teams menu item.
Click Add Teams to select which teams the tag should be applied to.
Brandfolder Image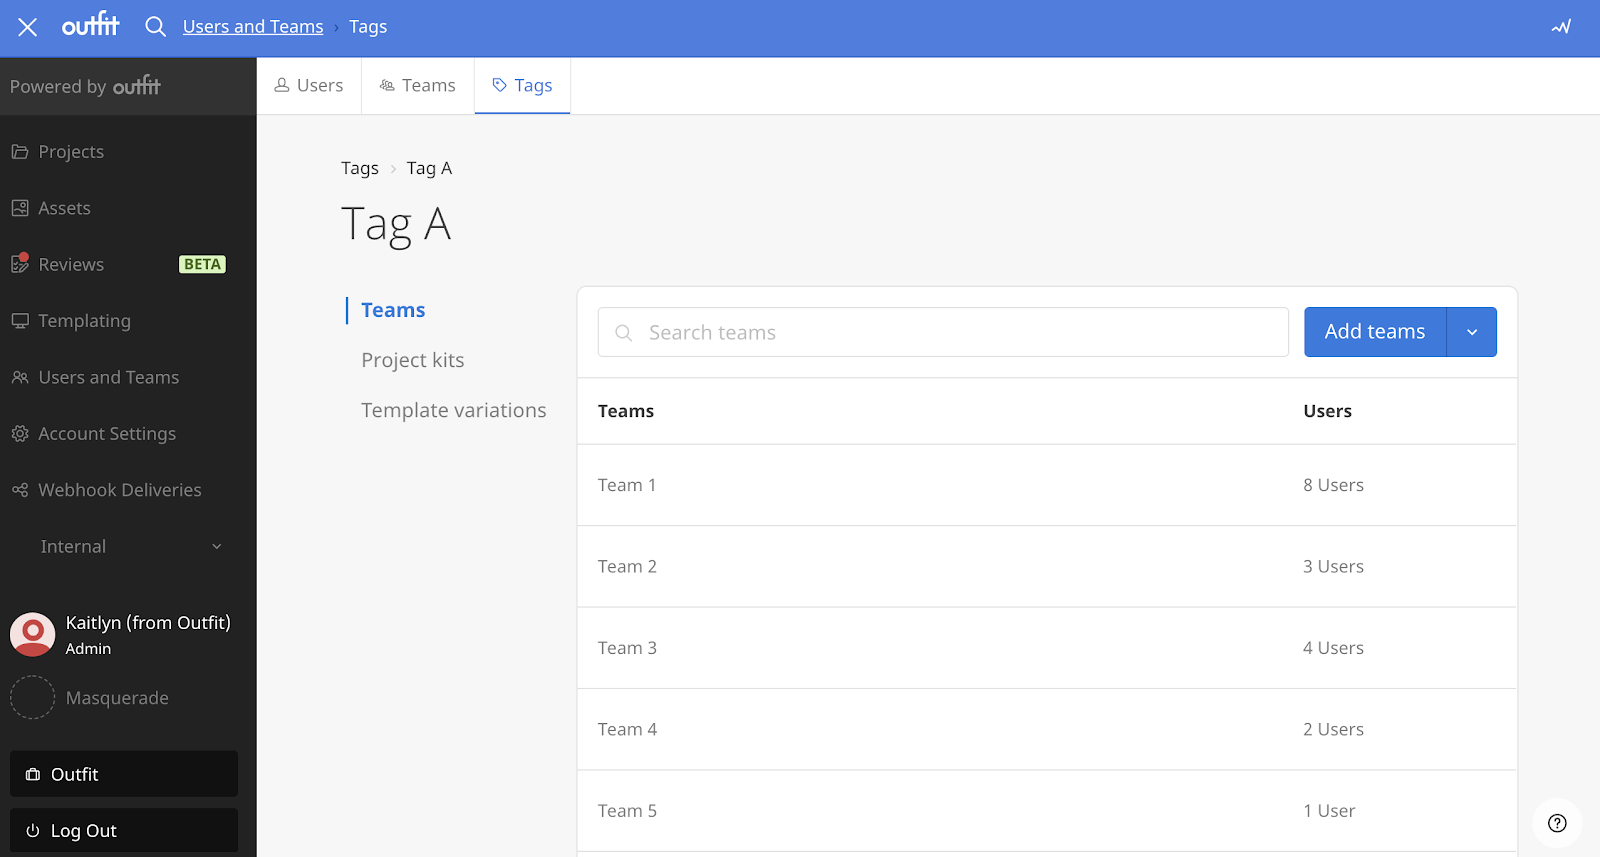
- Search for the team name or scroll to find the team you want to apply the tag.
- Check the box next to the team name to select a team. Teams that already have the tag applied are pre-selected.
If you accidentally select the wrong team and want to remove a tag from a team, choose the checkbox again to unselect the team. - Select Save once you choose the teams you'd like to apply the tag to.
Adding Content Automation tags to teams via upload list
- Ensure you're in the Teams menu item.
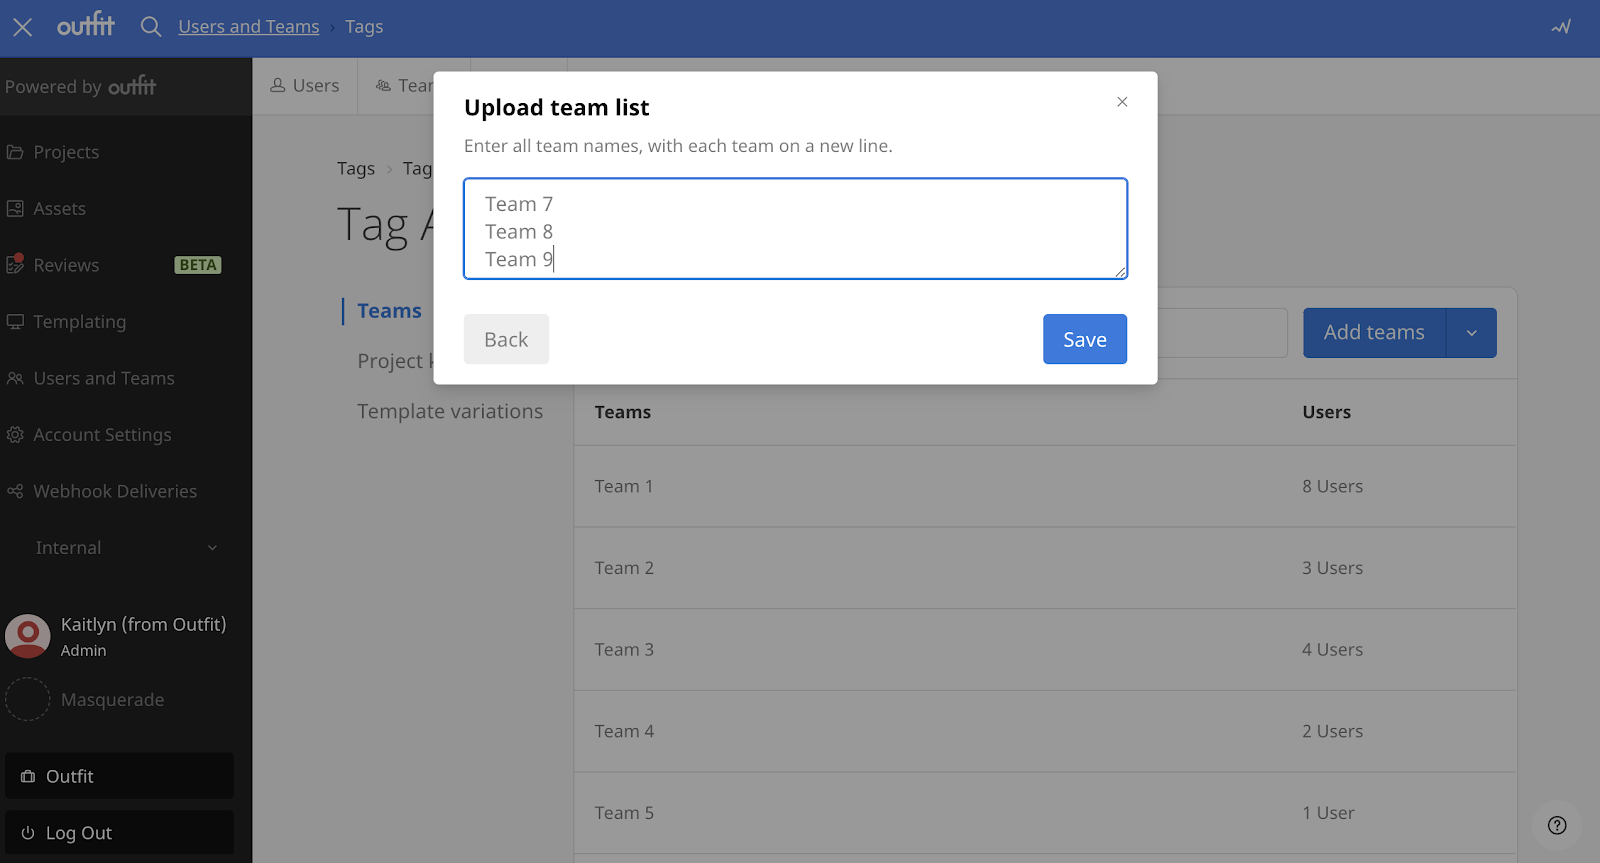
- Select the drop-down arrow next to Add Teams and select Upload team list to upload a list of teams to which the tag should be applied to.
- When entering team names, ensure the list has each team on a new line.
- Select Save.
Adding Content Automation tags to project kits
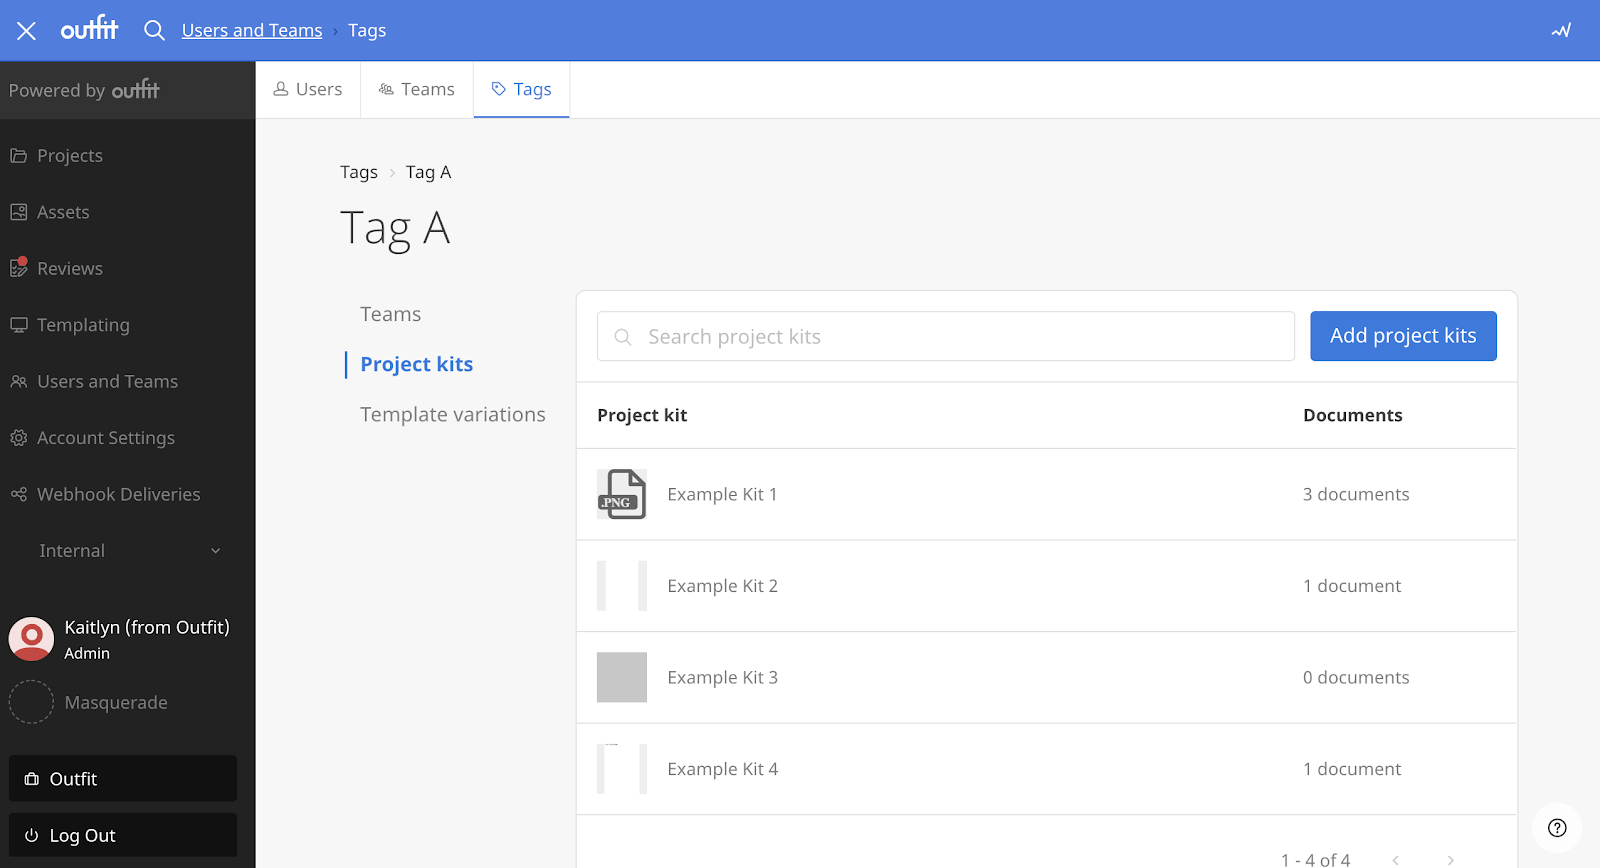
- Switch to the Project kits menu item.
- Select Add project kits.
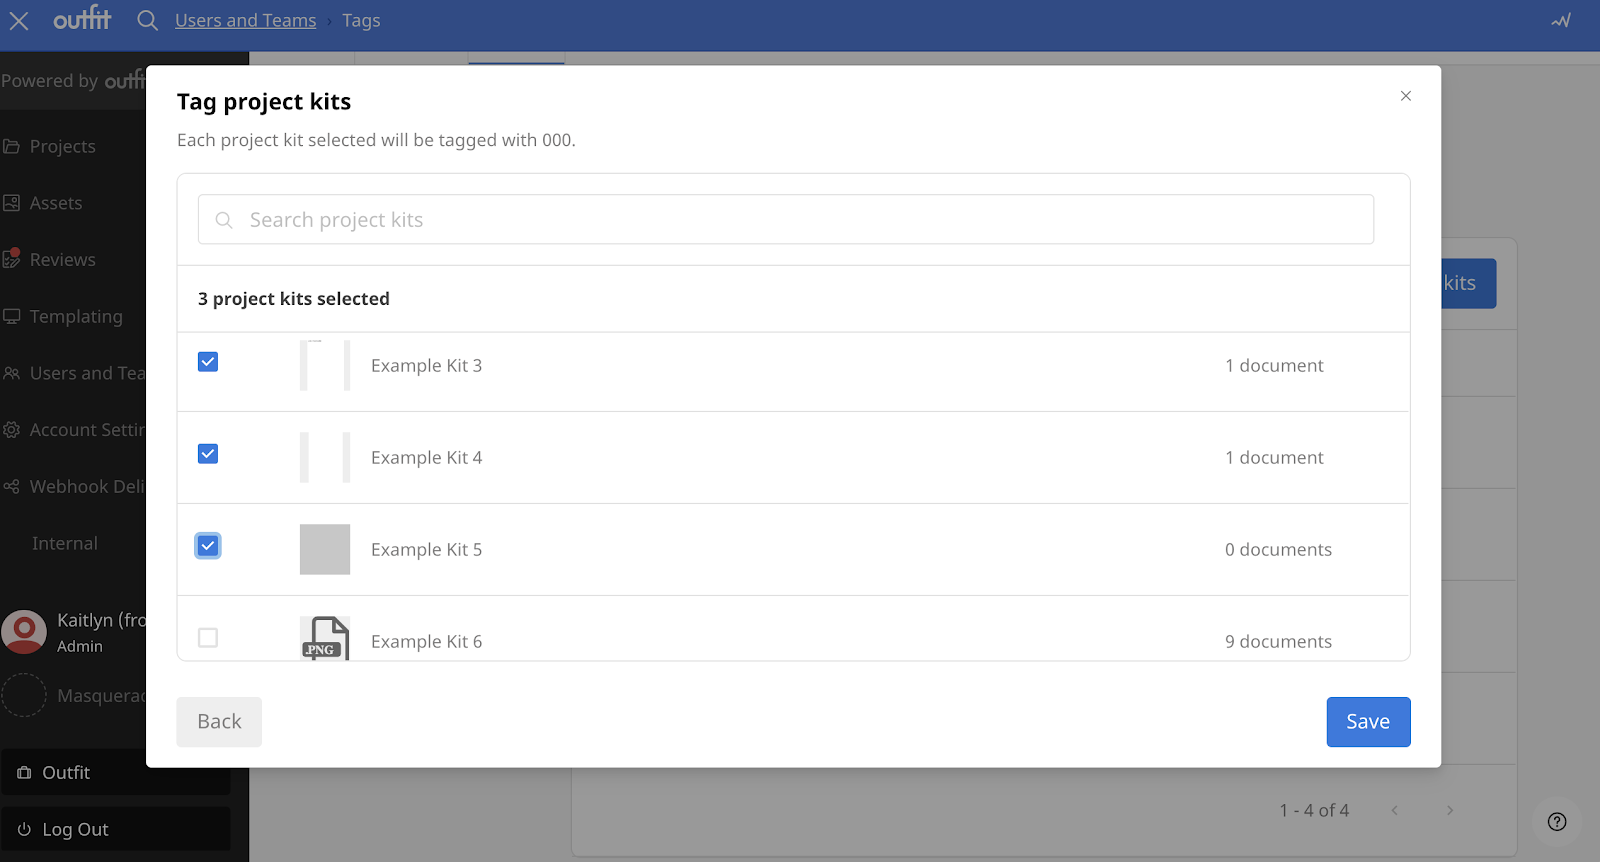
- Search for the project kit name or scroll to find the project kit to which you'd like to apply the tag.
- Check the box next to the team name to select a project kit. Project kits that already have the tag applied are pre-selected.
If you accidentally select the wrong project kit or want to remove a tag from a project kit, click on the checkbox again to unselect that project kit. - Select Save.
Adding Content Automation tags to template variations
- Switch to the Template variations menu item.
- Select Add template variation.
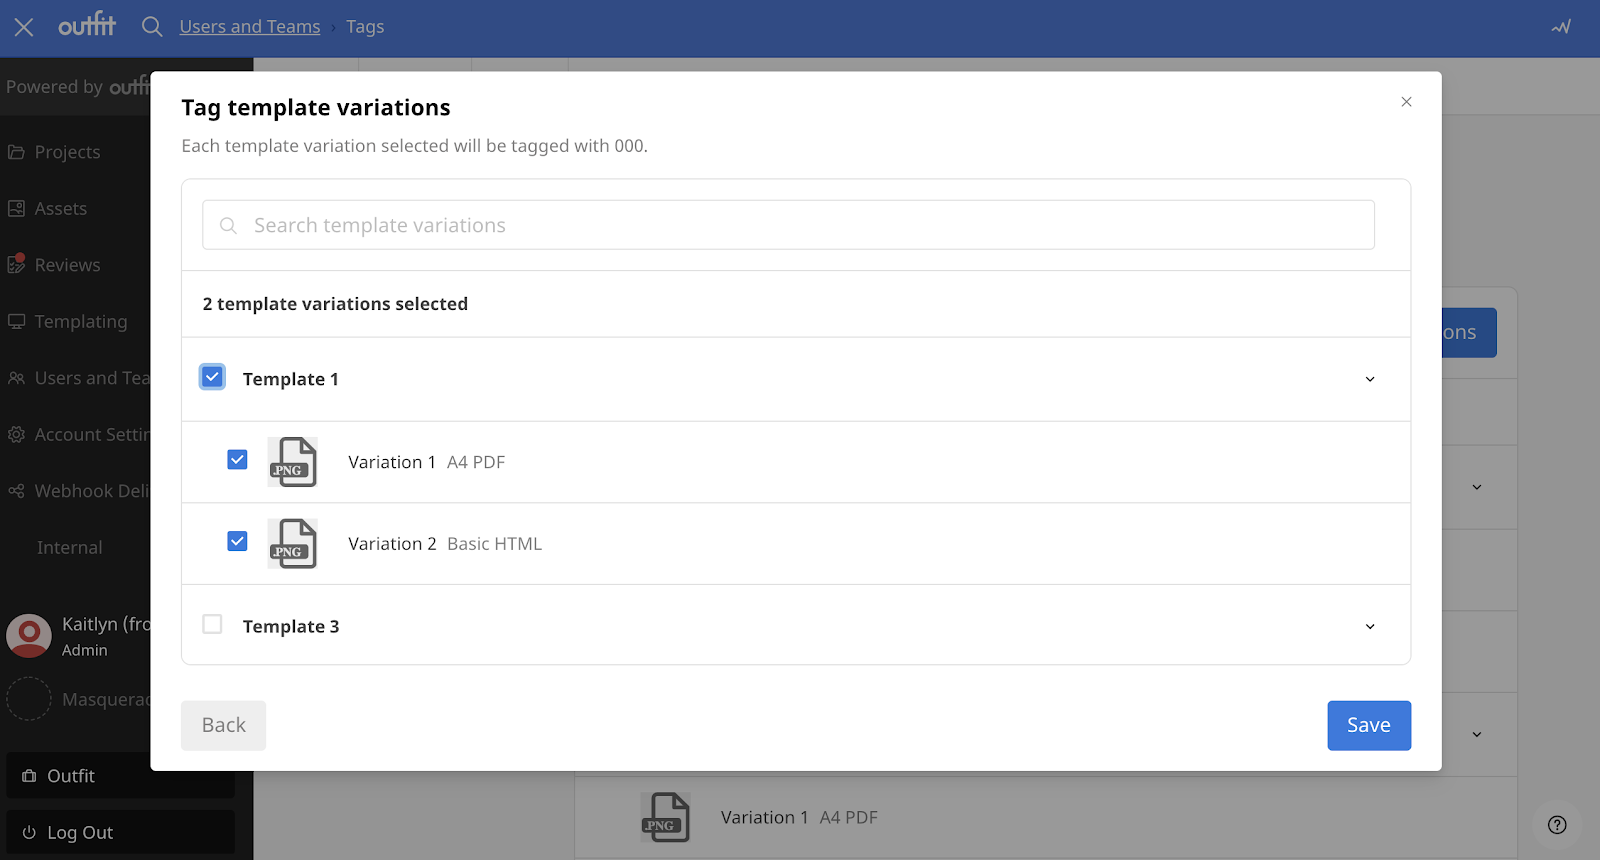
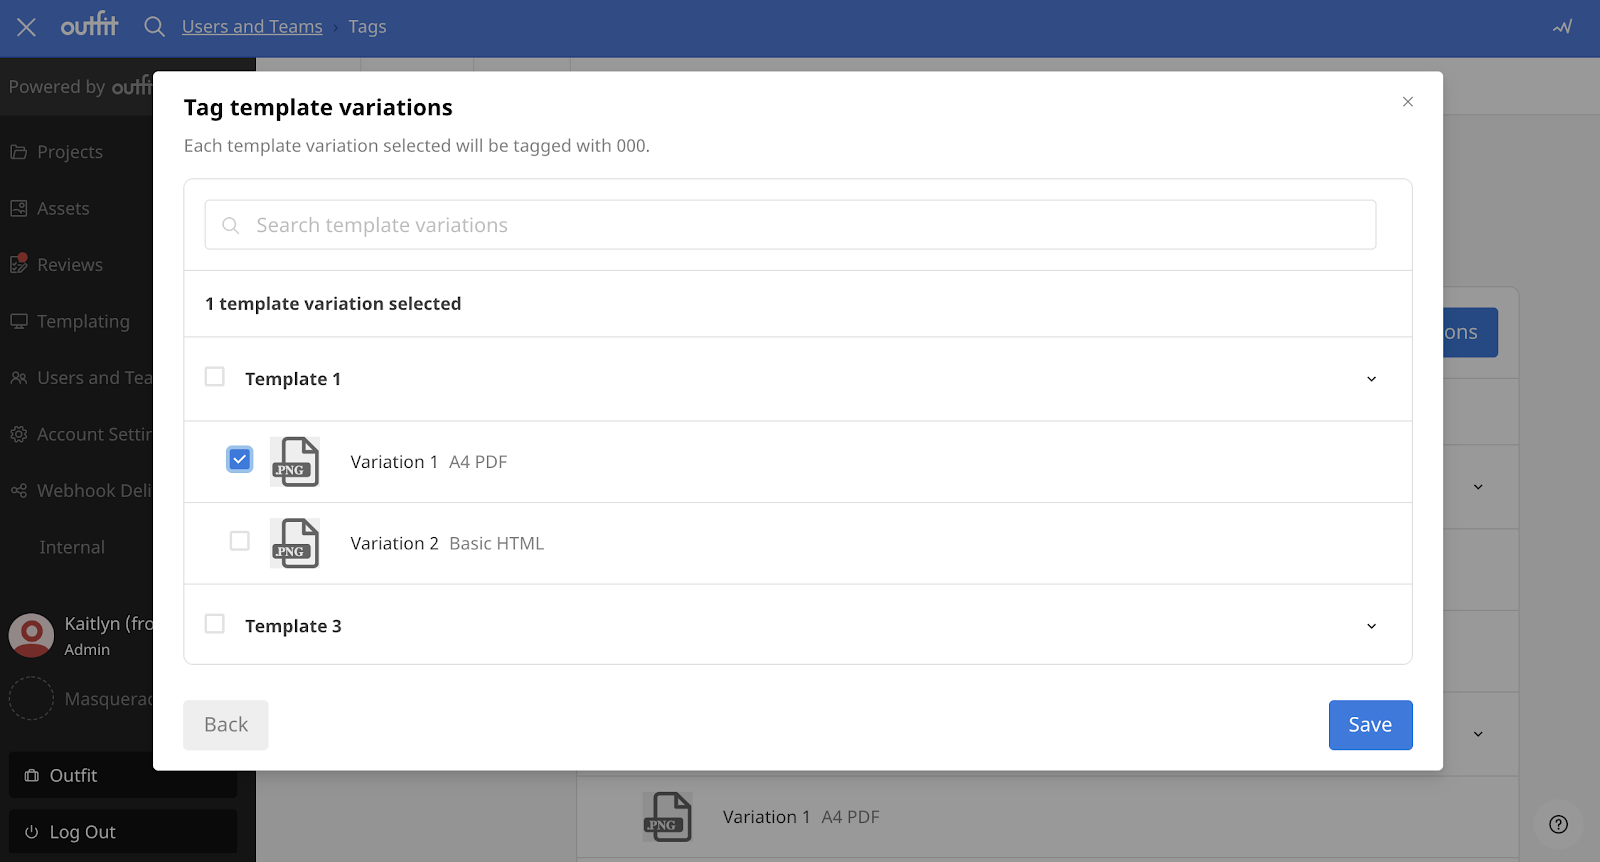
- Search for the template variation name or scroll to find the template variation want to apply the tag to.
- Check the box next to the team name to select a template variation. Template variations that already have the tag applied are pre-selected. You can select the master template to automatically select all variations of that template.
Alternatively, you can select specific template variations.
If you accidentally select the wrong template variation or want to remove a tag from a template variation, click on the checkbox again to unselect that template variation. - Select Save.
Deleting a Content Automation tag
Deleting a Content Automation tag removes it from all teams or content resources, and cannot be reversed. This also removes any associated permissions.
To delete a tag, find the tag you wish to delete on the tag management page, open the action menu by clicking the three vertical dots at the end of the table row, and select Delete.
If you only need to delete a tag from a particular team, project kit, or template variation, you can do this on the settings for that resource. If you need to remove the tag from multiple items, you can do so by unselecting the resource when following the workflow to add a tag (as detailed above under Adding tags on teams, project kits, or template variations).
