Learn to upload templates to Brandfolder using the extension PrintUI.
Get started
- In InDesign, find the plugin under Window > Extensions > PrintUI Management.
- Login to your account using the Hamburger Menu in the top right of the plugin window and select Enter Login Credentials.
Users require a PrintUI license to upload their Adobe templates to Brandfolder.
Template setup
The Initialize Template button prepares the document with PrintUI, creating a non-editable background layer by default. You can add document layers from this menu, such as a non-editable foreground layer.
Template Options provide additional options for adjusting advanced output settings. The default values are recommended when uploading for the first time and can be adjusted as needed.
Rasterizing the Background and Foreground layer is often a great way to reduce file complexity and speed up preview times in the browser.
Layer organization affects how replaceable fields are displayed in the editor. The order of text frames in the editable layers determines the order in which they are displayed as fields in the editor. Similarly, renaming a text frame provides a label above the field in the editor.
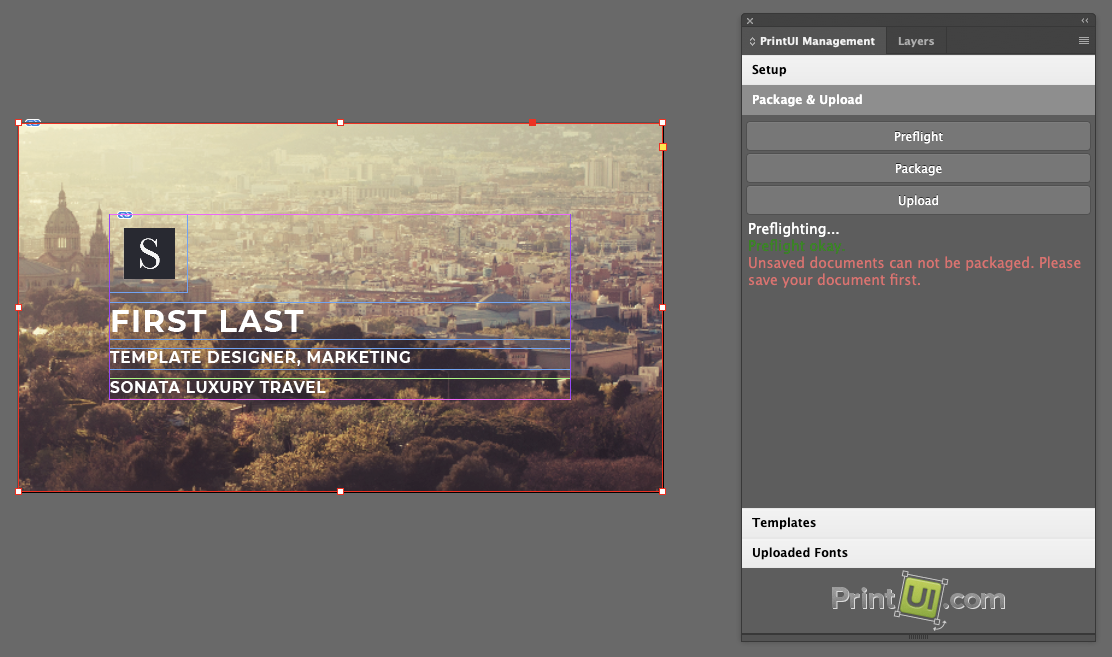
Package & upload
Preflight identifies any potential issues with images and text frames.
Packaging attempts to group all linked content, fonts, and document files into a single folder for upload. The hamburger menu has a shortcut to your package location.
To be properly packaged, all images used in the document must be linked—pasted graphics are not included.
Some fonts have licenses that restrict packaging or limit use to one local user. For example, Adobe Typekit and Creative Cloud fonts specifically restrict packaging and are not included in any package created by InDesign. Check your font's license or documentation to ensure it will work in a templating environment.
The Upload button automatically preflights and packages your document to ensure that it has been created properly and that common errors are accounted for.
For a thorough look at various preflight and packaging errors, look at the PrintUI Upload Troubleshooting knowledge base.
Template management
After the upload finishes, the template is sent to your designated templating section. The Templates section of the plugin contains a full list of the templates uploaded to your account. You can use this section to remove templates from your account or download packages of previously uploaded templates.
Removing a template asset in Brandfolder does not remove the template from the plugin - those templates reappear the next time the plugin is synced. If a template needs to be removed permanently, delete the template from the list in the plugin, then re-sync the templating section in the Brandfolder.