Asset permissions may be used to distribute imagery to specific teams or designate specific images for use in templates.
If you want to assign asset permissions, you must first group images via a tag. For example, you may name the tag Science and distribute it only to people needing access to science-related imagery.
How to set permissions on images
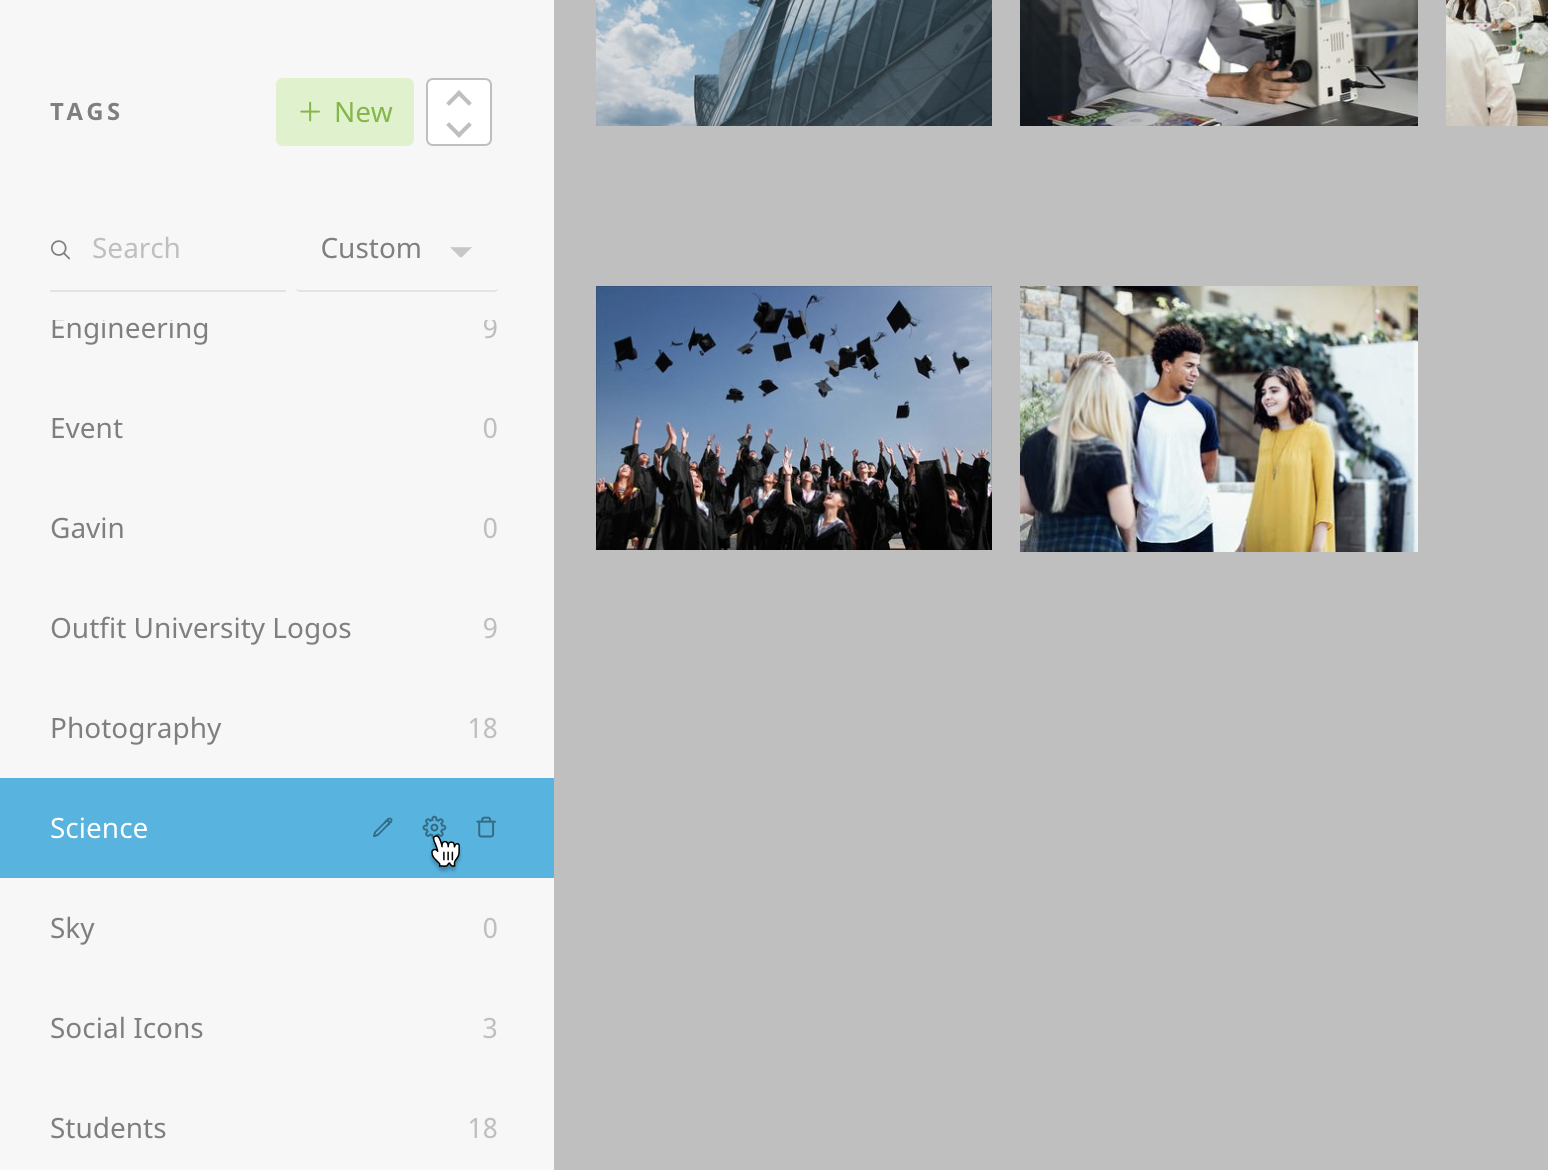
- Navigate to the asset library and select the tag to which you want to assign permissions.
Hover over the tag and select the cog (settings) icon.
Brandfolder Image
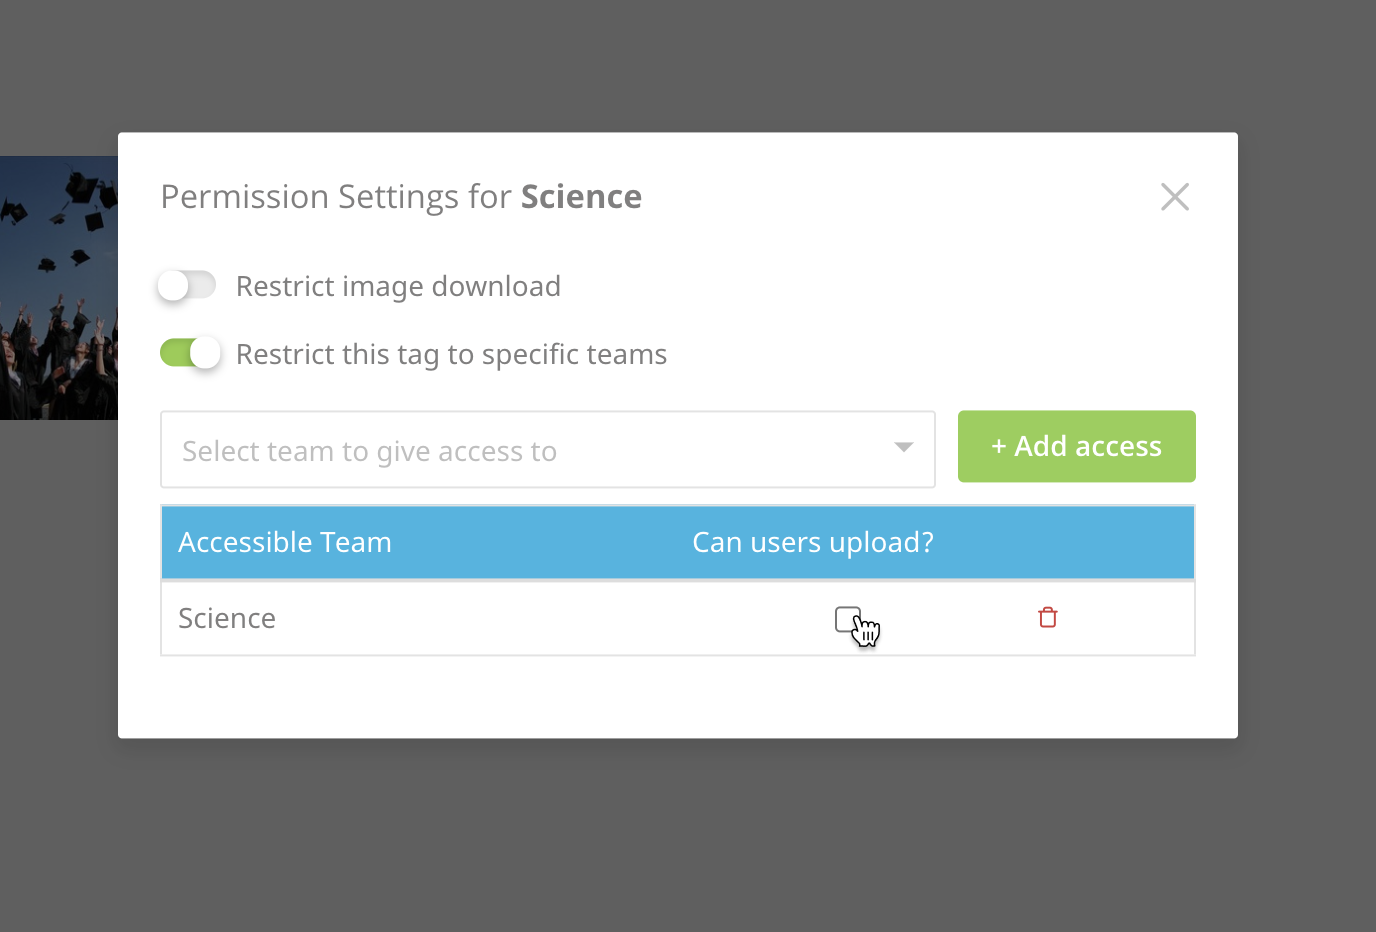
- To only allow specific teams to access images inside a tag, toggle on the setting that says Restrict this tag to specific teams.
- Select the team(s) to which you wish to grant access. If the list is long, you can search for teams.
- Select Add access.
- If you want users to upload to a tag, check the checkbox. Conversely, ensure the checkbox isn't checked if you don't want users to upload to a tag.

Once a tag is assigned, only teams with access to it can see it. You can update the tags assigned to your images.
How to update your image's tags
To update the tag(s) that your image is assigned to, click on the image that you have uploaded to the asset library and in the Asset Info panel:
a) Add or remove existing tags using the drop-down menu or;
b) Create a brand new tag using the +Create tag button.
How to restrict image download
You can also deactivate your network's ability to download specific images stored within the asset library via tag permissions.
- Navigate to the Asset library.
- Hover over the tag and select the cog (settings) icon.
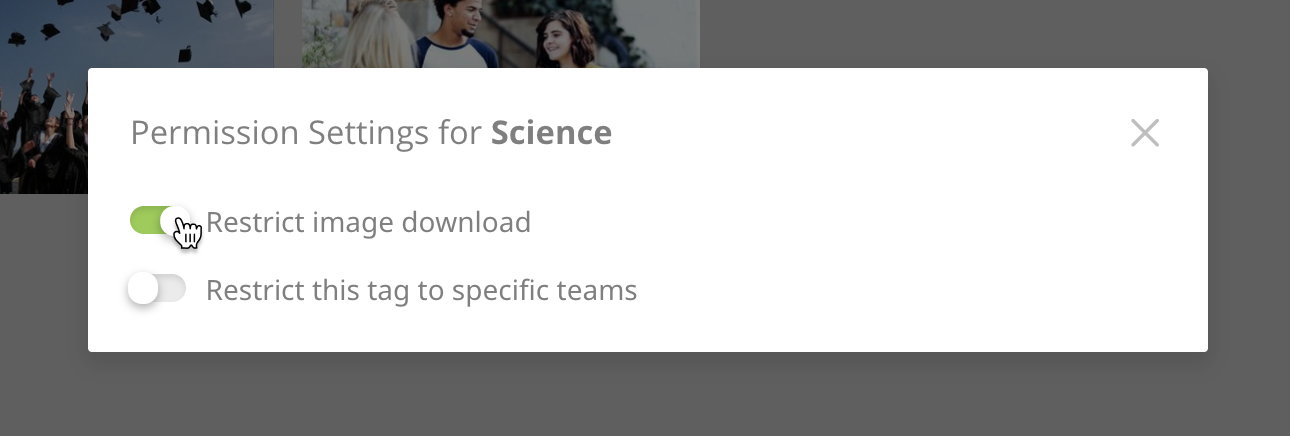
Toggle on the option Restrict image download.
Brandfolder Image
Frequently asked questions
Can I assign multiple teams to 1 tag?
Yes, you can. You just need to repeat steps 4 and 5 above and choose multiple teams to assign to the single tag.