Log into your Bridge account
- Go to the Bridge login page.
Every Bridge account has a unique login page. If your plan includes Bridge, your System Administrator can check their welcome email for the unique Bridge login URL and must add you to the account following these steps.
- Select Sign in with Smartsheet.
- Select Allow.
Get oriented and start building
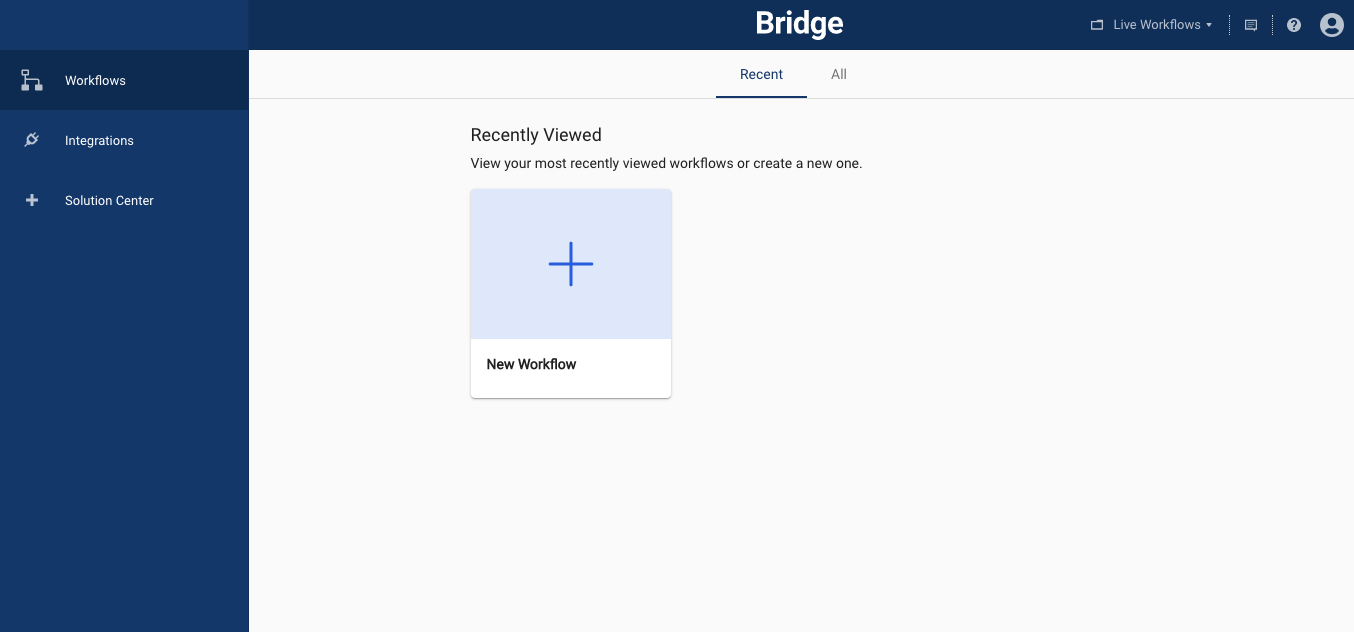
The Workflows dashboard is the first thing you see after logging in. You will use this dashboard to start creating workflows. Everything on the page is specific to the current workspace you’re in, which is shown in the photo as Live Workflows at the top right of the screen.

If you’re in the workflows dashboard and don’t immediately see the workflow you’re looking for, select All at the top of the page to see a list of all workflows in that current workspace.

- You can choose to create a workflow from scratch in the designer, or you can start from a template in the Bridge Solution Center.
- As you work in Bridge, use the left menu to access workflows, integrations, and the Solution Center.
- You can set up your users and manage your workspaces from the top right corner of your account.

Start with a blank workflow
To create a workflow from scratch, select New Workflow to open the designer. For more information about starting a blank workflow, see Use the designer to build a workflow.
Start with a template in the Solution Center
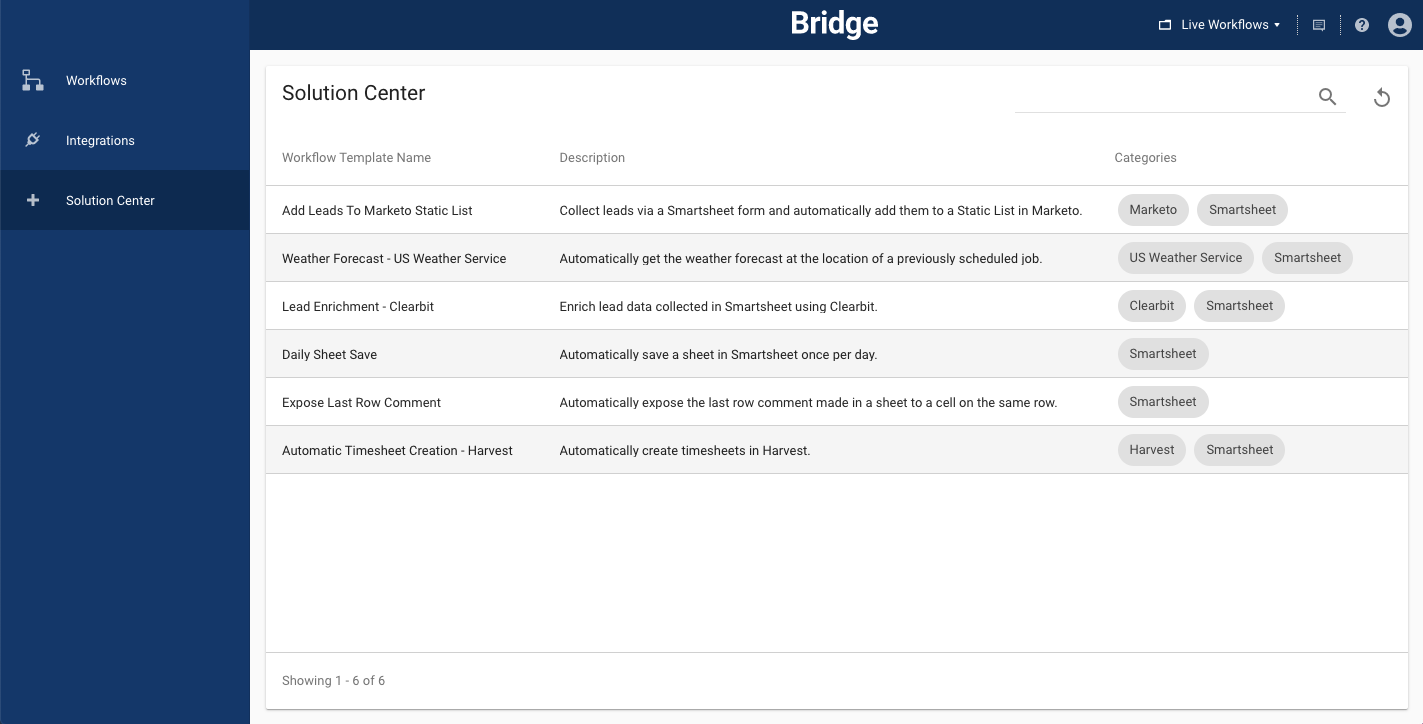
- To help you get started building workflows, Bridge includes a set of workflow templates in the Solution Center.
- To access the Solution Center, select Solution Center from the left menu of the Workflows Dashboard.
- You can save Bridge Solution Center templates in a workspace and you can either use it as-is or build upon it further.
If you're interested in seeing where the components in these templates are used in existing integrations, refer to the Categories column.

Most of the templates require further configuration to make them work for your unique scenario. For more information about each of the templates, see Bridge templates.